
Wow, Thursday already, time flies when you're having fun! Today I have a little something different to share with you. Over the last few weeks, I've had several people comment about my acetate snowflake embellishments, some even ask where I get them...the secret is you make them yourself! So I thought I would share a quick tutorial with you. And what's better, they are super easy to make and they look really pretty!
Please don't mind the poor quality photos...it's really hard to photograph acetate! And the lighting in the winter gloom knows as January is really not the best!
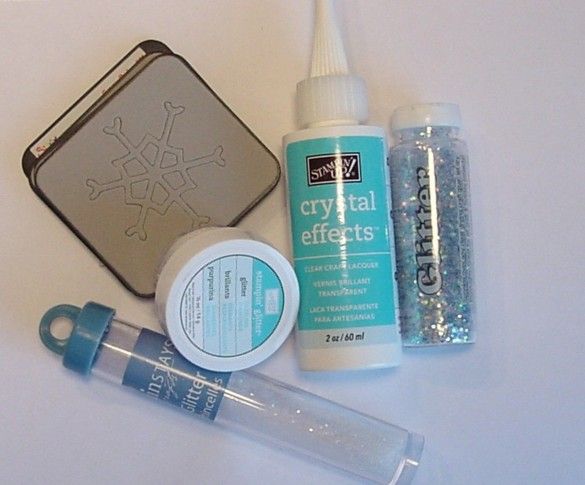
OK so first you will need the following supplies:
- A Cuttlebug or Big Shot or some other kind of die cutting machine
- Snowflake dies or if you have a snowflake punch, that will work great too and you won't need to drag out your die cutting machine
- A piece of acetate (I use transparency sheets from the office supply store), cut to small workable squares
- Glue which dries clear, I used SU! Crystal Effects
- Glitters (I use a few types - super fine, chunky, and multicolored)
- Glimmer mist (optional)
 Set up your die cutting machine. Add a piece of acetate over a snowflake die, I used Sizzlet dies from SU!, and then roll through your machine. Make as many as you need. If you have a snowflake punch, then all you need to do is punch out a bunch of acetate snowflakes and skip using the Big Shot.
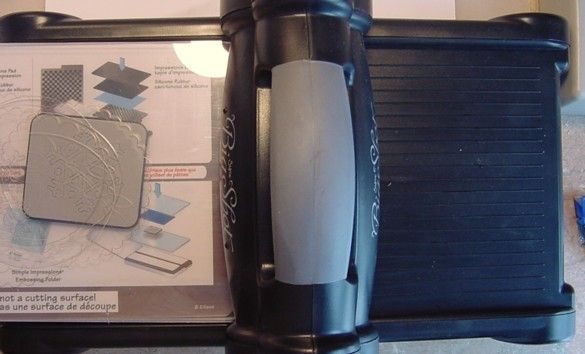
Sometimes the snowflake remains attached to the acetate sheet and you just need to manually pull it apart from the acetate sheet. Be careful not to rip the snowflake though. (below is a photo of one punched out snowflake)
 Once you have your snowflakes punched out of your acetate piece, lay it (or them) on a piece of scrap paper and apply the glue to the whole snowflake.
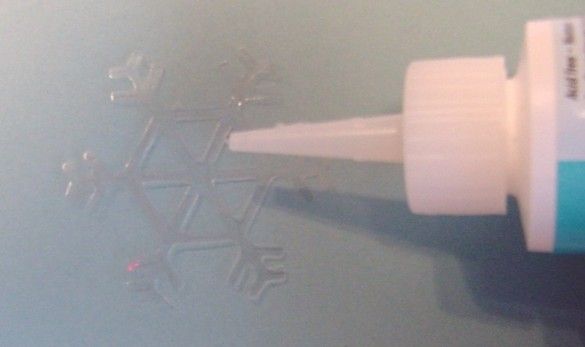
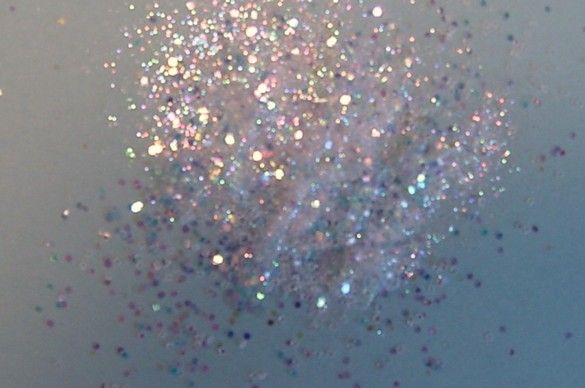
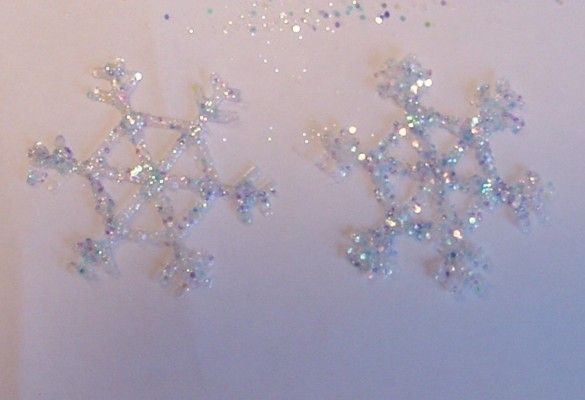
Once the glue has been applied, cover it in different types of glitter. I start with the biggest or chunkiest ones first and then add the finer ones.
When you are happy with the coating over the snowflake, gently and carefully lift it out of the pile of glitter and set aside on a surface that you can easily move it around on. I often use another piece of acetate and lift it up every few minutes to insure that it's not sticking to the surface.
You will want to make sure it doesn't stick to the place where you set it for it's final drying spot or you will be sad, trust me! And don't put it on black paper...or you will have little black fuzzies all over the backing of the snowflake if it does stick.
Now, do the hardest part of the tutorial....wait for them to dry! LOL!
 When they are close to dry you can give them a spritz of glimmer mist and allow to dry further. This is optional and not necessary if you use enough glitter.
When they are fully dry and ready to use, you can attach them to your project with glue or I sometimes use a rhinestone brad in the center and punch it threw my card so that I know it's good and attached, plus it looks nice.
Hope you will give these acetate snowflakes a try! They really are sparkly and pretty accents on a card! Thanks for dropping by today, have a great afternoon! And if you do try making these, let me know as I would love to see what you create with them!
Happy stamping...or in this case gluing and glittering up your workspace! :)
9 comments:
What a fantastic project Denise - thanks for sharing. Lol Lynn ♥
Denise thanks for nice master class ))
Thanks for the great tutorial! Anja
Great tip, I'll give it a go.
Fab tutorial Denise, Thankyou I will be sure to give this a bash!.x
I think I need to but a snowflake die thanks for sharing Julye
Great idea and super tutorial! TFS
I never thought of using acetate for snowflakes and adding glitter. What a fab idea! I just may try this out!
Fun idea! Thanks for sharing.
Post a Comment